Stop
If you do not need to use a Compute Instance for a period of time, you can stop it to reduce costs.
Prerequisite
The Project's wallet balance must be greater than 0. If your project has no funds, learn how to add money by following the steps for Topping up a Project's Wallet.
The Compute Instance must be in the active status.
Instuctions
1. Navigate to the Compute Instance Page
In the left-hand menu, click COMPUTE > Compute Instance to access the Compute Instance list.

2. Initiate the Stop Command
You can stop the instance in two ways:
From the Compute Instance list page, scroll to the far right to find the "MORE" button. Click it and select "Stop".

Alternatively, go to the Compute Instance detail page by clicking on the instance's name. The "STOP" button will be visible in the top menu bar.

Stopping a Compute Instance will halt charges for its Machine Type. However, charges for any attached Volumes and External IPs will continue as usual.
Click the CONFIRM button to proceed with stopping the instance.

3. Wait for the Instance Status to Become "Shutoff"
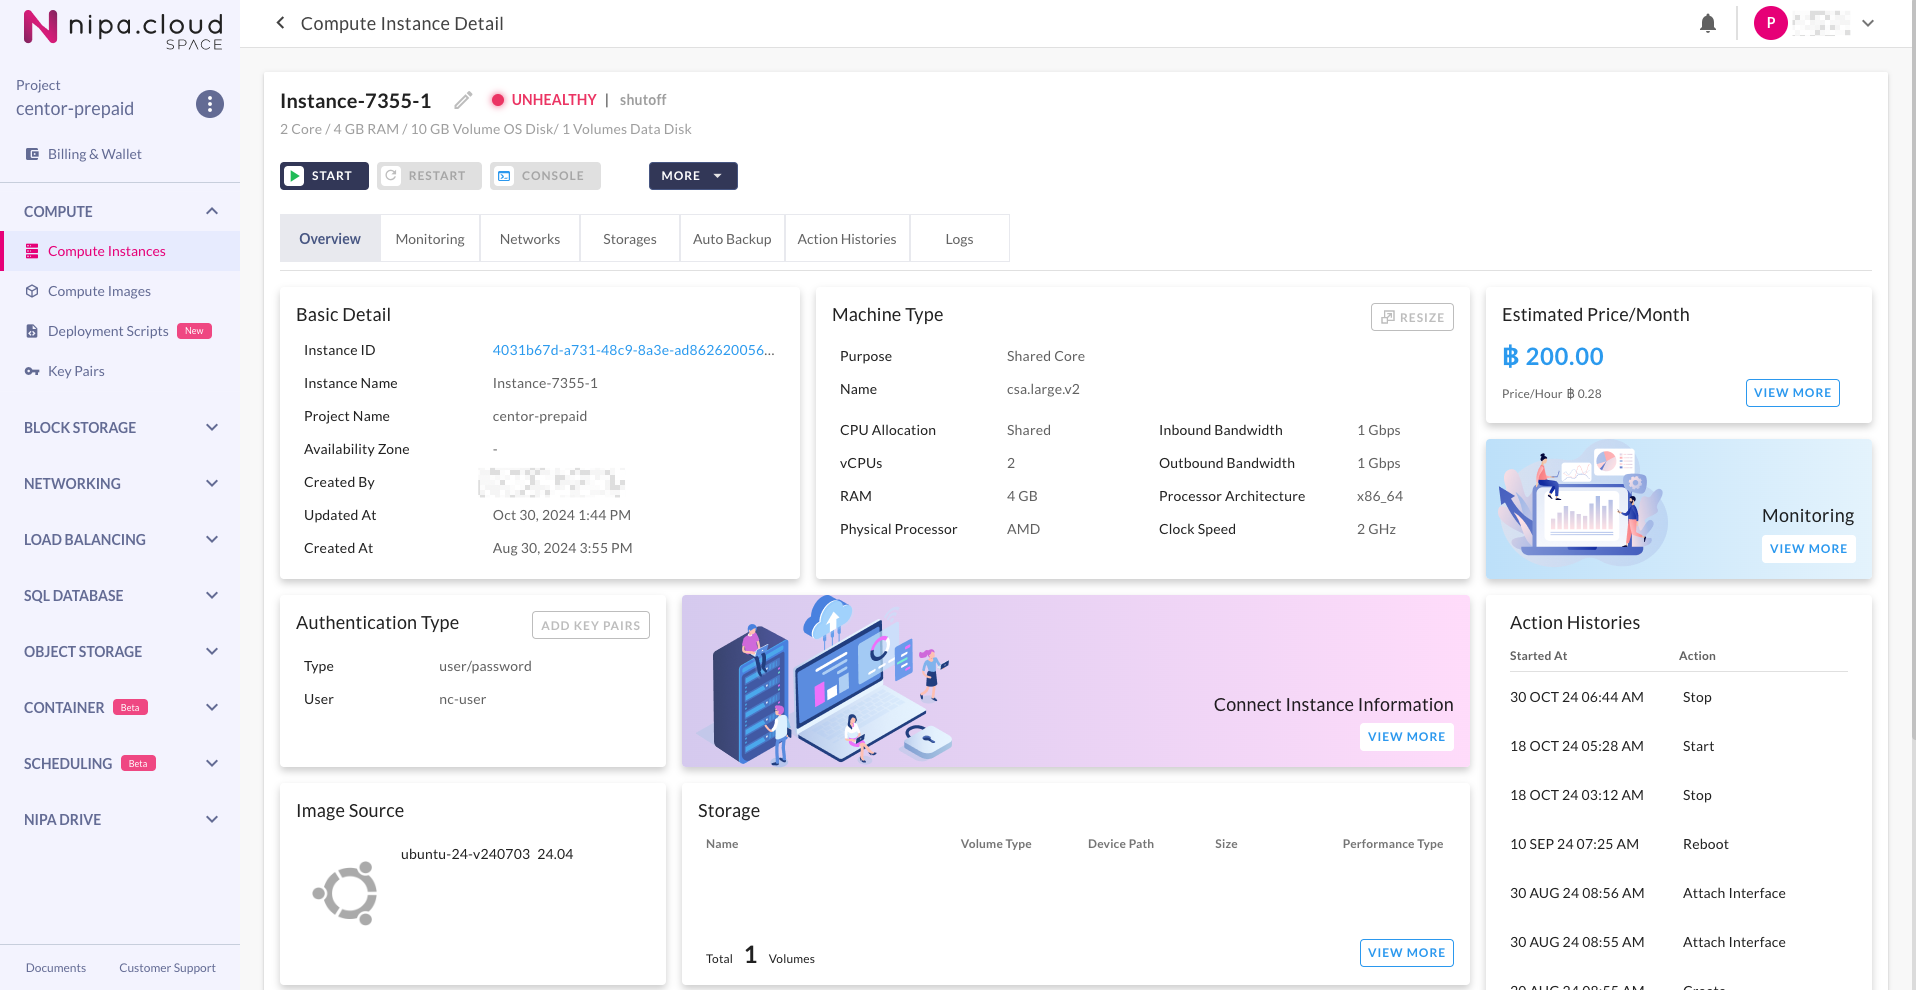
The system will return you to the previous page. The process is complete once the instance's status changes to "shutoff".

Volumes attached to a stopped Compute Instance will have their attachment state changed to "reserved." They cannot be detached or deleted until the Compute Instance is started again.
Last updated
Was this helpful?