Importing Your Own Image

You can import an image from outside the Nipa Enterprise Public Cloud system by following these steps.

Prerequisite

Instructions

1. Enter the project

Select a project from the projects management page to enter its detail page.

Project Detail

2. Navigate to the Images page

In the left-hand menu, click COMPUTE > Images.

Images List Page

3. Open the new image creation window

Click the "+Image" button in the top-right corner of the page to open the "Create Image" window.

Create Image Button

4. Enter the details of the image to be imported

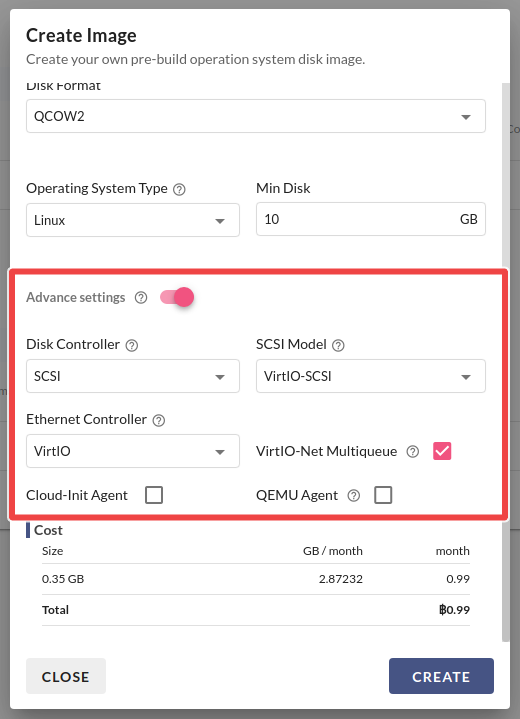
Fill in the Name and the URL of the image you want to import. Also, specify the Disk Format, Operating System Type, and Min Disk (the minimum size required to create a volume from this image, which can be checked using the command qemu-img info <image name>). Once complete, click the 'CREATE' button.

Create Image

You can configure additional options by clicking "Advance setting".

After clicking "create," the system will display a summary of the image to be created.

Creating Process Has Started

5. Wait until the image status becomes Active

The imported image will initially have a status of "importing."

Importing Image

It can only be used to create a bootable volume or launch an instance once its status becomes Active.

Image Active

Last updated

Was this helpful?